Importance of Ryobi Tiller in Gardening
In the realm of horticulture and agricultural cultivation, the tiller stands as an indispensable tool, playing a pivotal role in the preparation and maintenance of soil for planting. Its significance lies in its ability to break up compacted soil, aerate it, and create an optimal environment for the roots of plants to flourish. By mechanizing this arduous task, tillers streamline the gardening process, making it more efficient and yielding more favorable outcomes. Moreover, a well-tilled soil bed promotes nutrient absorption, water retention, and root development, thereby directly influencing the overall health and vitality of cultivated flora. Whether for a small backyard garden or a larger-scale agricultural endeavor, the tiller serves as a fundamental instrument in achieving a bountiful harvest. Among the plethora of available tillers in the market, the Ryobi Tiller emerges as a distinguished choice for discerning gardeners and agriculturists.
Ryobi Tiller – a Versatile and Powerful Tool
Ryobi tiller, renowned for its reliability and superior engineering, has established itself as a prominent name in the realm of gardening equipment. The Ryobi Tiller, in particular, embodies a marriage of robust design and cutting-edge technology, resulting in a tool that is both versatile and powerful.
Designed to cater to a diverse range of gardening needs, the Ryobi Tiller adeptly navigates through varying soil types and terrains, ensuring consistent and satisfactory results. Its precision engineering translates into efficient operation, reducing exertion while maximizing productivity. This versatility extends to its adaptability for both residential and professional applications, making it an asset to gardeners of all calibers.
The primary objective of this post is to offer a comprehensive and detailed guide that empowers individuals in harnessing the full potential of the Ryobi Tiller. Through a systematic exploration of its assembly, operation, maintenance, and optimization, readers will gain a profound understanding of the tool’s capabilities. This guide is curated with the intent of enabling users to make informed decisions, enhancing their gardening endeavors, and ultimately yielding a flourishing and thriving garden.
Our Top Picks of Ryobi Tiller
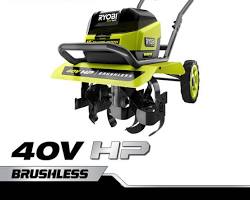
Ryobi 40V HP Brushless 18″ Rear Tine Tiller
This is Ryobi’s most powerful tiller, and it’s a great choice for large gardens or tough soil conditions. It has a 18″ tilling width and a brushless motor that delivers plenty of power. The tiller also has a self-propelled feature that makes it easy to maneuver.
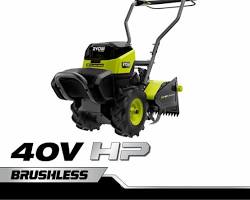
Ryobi 40V HP Brushless 16″ Front Tine Tiller
This tiller is a good option for smaller gardens or softer soil conditions. It has a 16″ tilling width and a brushless motor that provides plenty of power. The tiller is also lightweight and easy to maneuver.
Ryobi 20V Cordless Cultivator

This cultivator is a good option for small gardens or flower beds. It has a 6″ tilling width and a lightweight design. The cultivator is also easy to use and store.
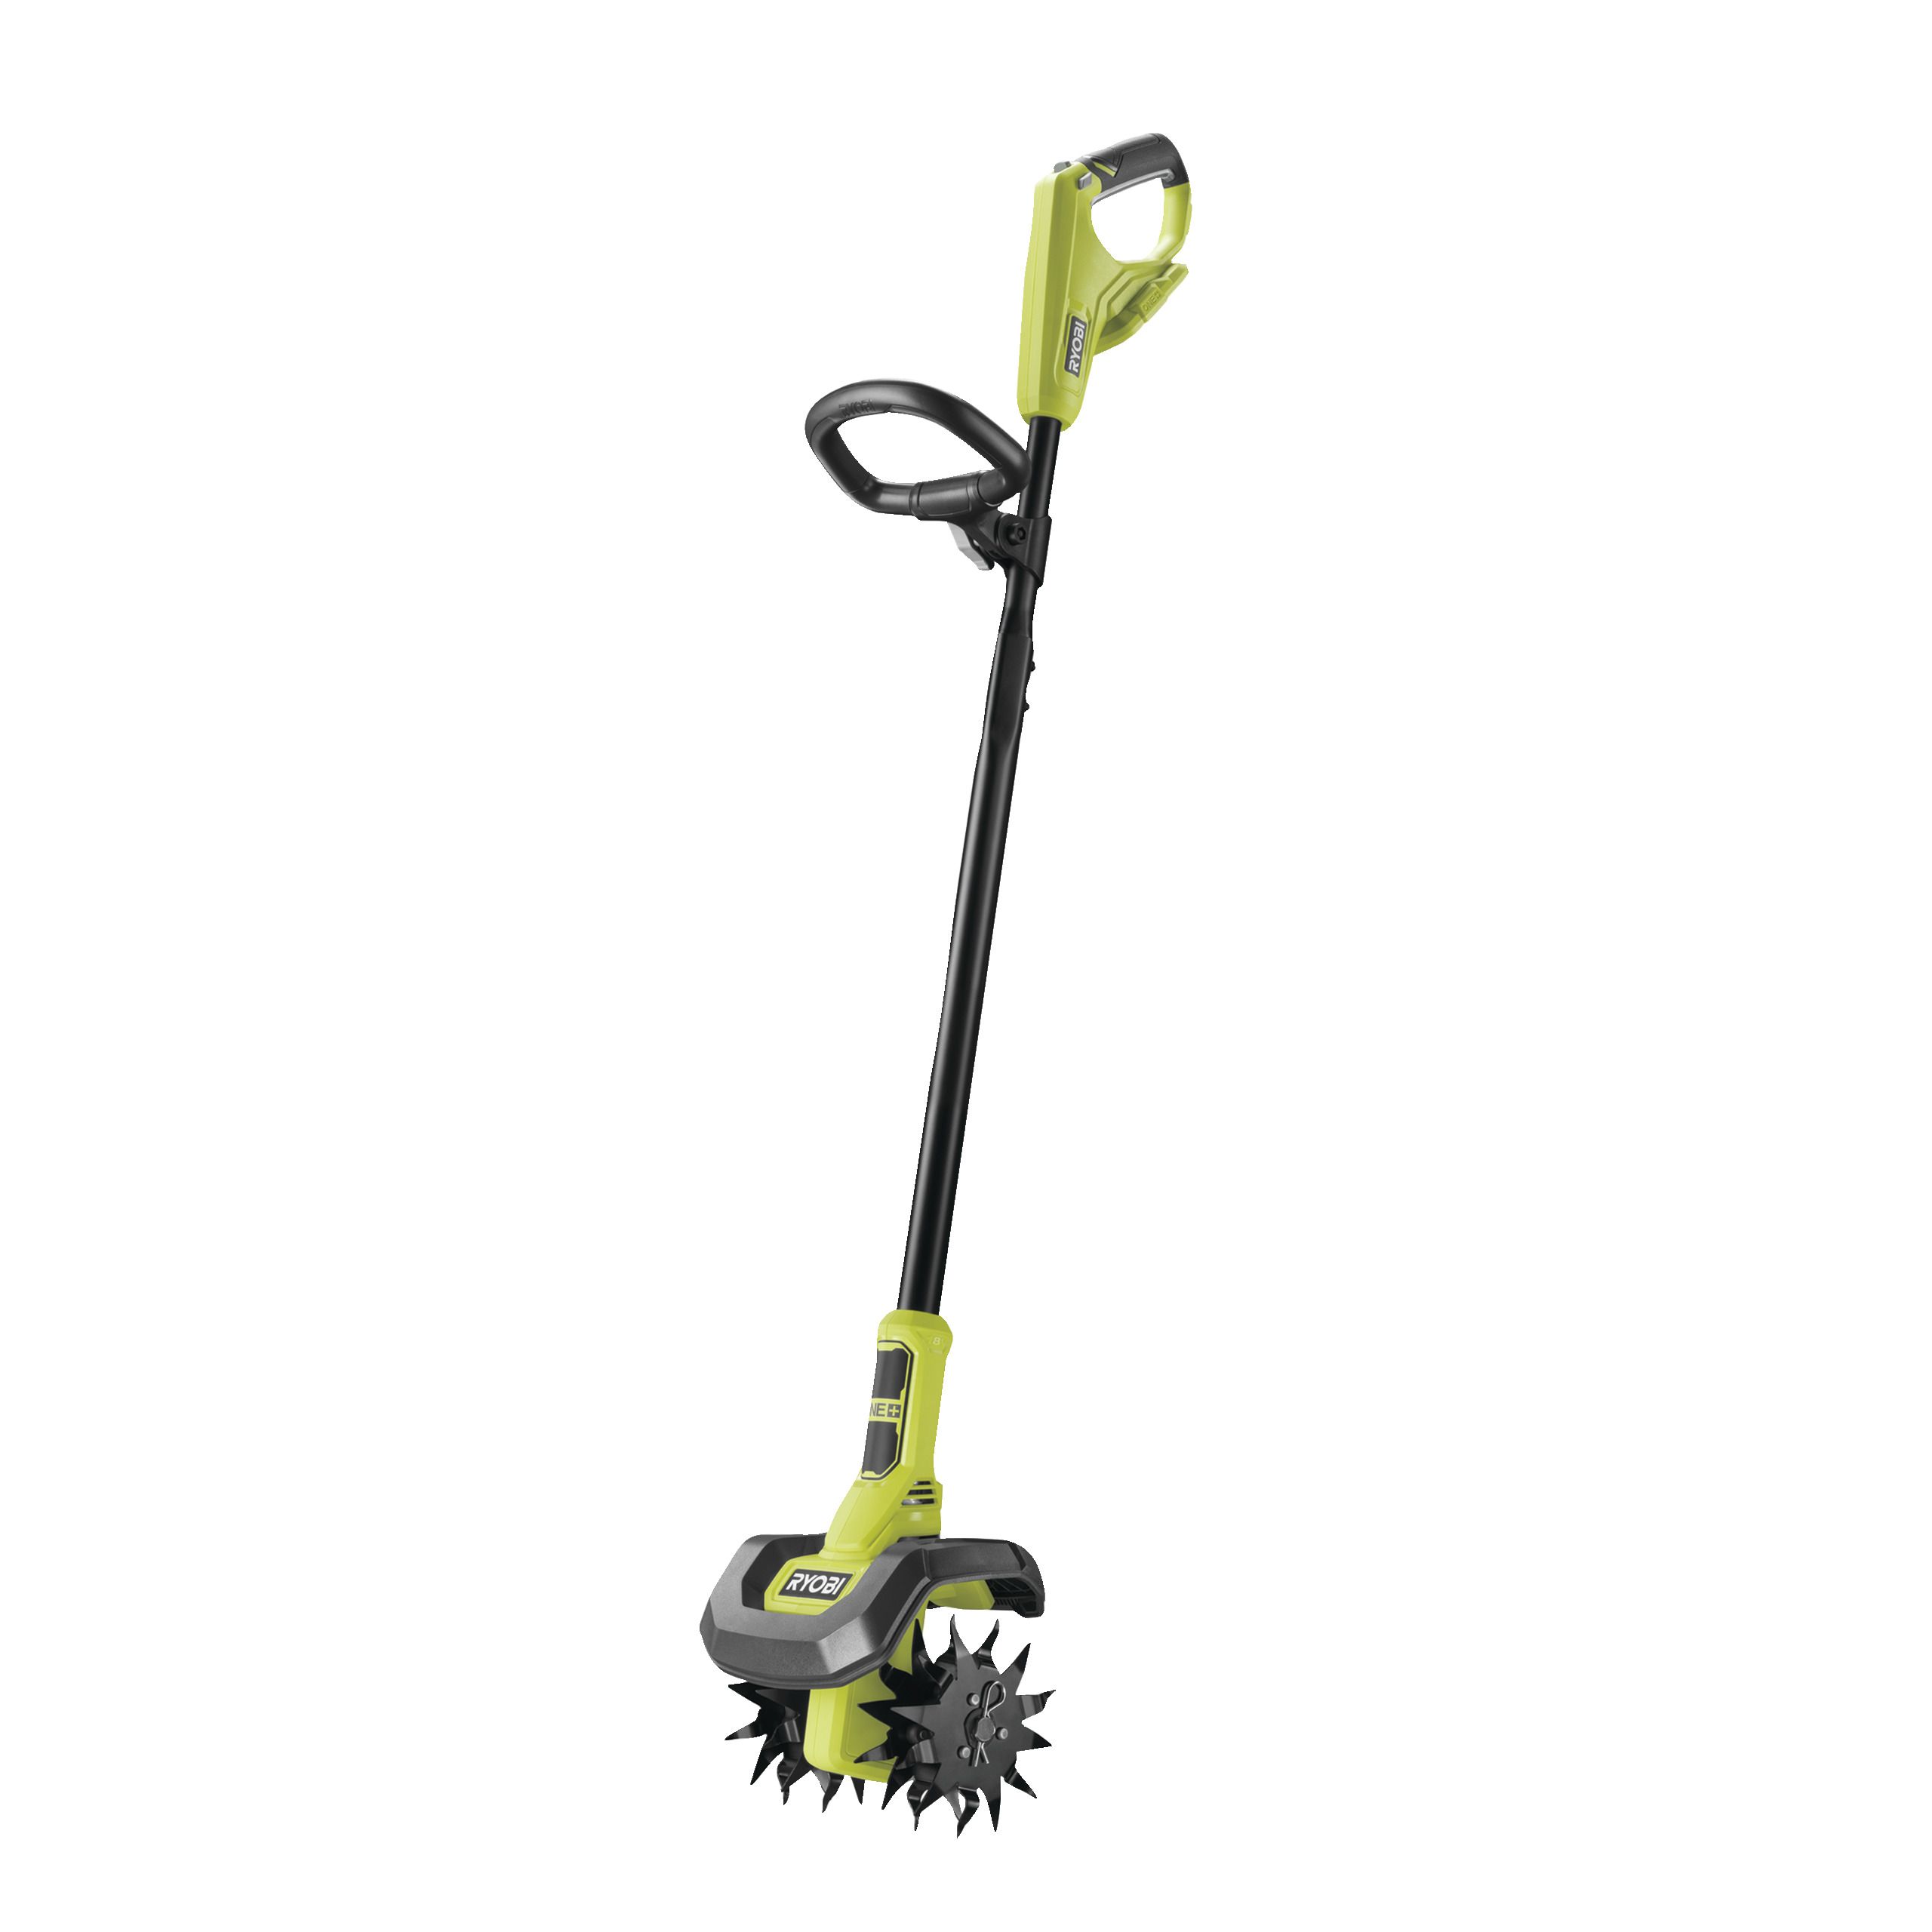
Ryobi 18V ONE+ Cordless Cultivator

This cultivator is part of Ryobi’s 18V ONE+ battery platform, so you can use the same battery with other Ryobi tools. It has a 6″ tilling width and a lightweight design. The cultivator is also easy to use and store.
Ryobi 13.5 Amp Electric Cultivator

This cultivator is a good option for small gardens or flower beds. It has a 6″ tilling width and a lightweight design. The cultivator is also easy to use and store.
Comparison Chart – Ryobi Tiller
| Feature | Ryobi 40V HP Brushless 18″ Rear Tine Tiller | Ryobi 40V HP Brushless 16″ Front Tine Tiller | Ryobi 20V Cordless Cultivator | Ryobi 18V ONE+ Cordless Cultivator | Ryobi 13.5 Amp Electric Cultivator |
|---|---|---|---|---|---|
| Tilling width | 18″ | 16″ | 6″ | 6″ | 6″ |
| Motor | Brushless | Brushless | Brushless | Brushless | Electric |
| Power | 40V | 40V | 20V | 18V | 13.5 amps |
| Self-propelled | Yes | No | No | No | No |
| Weight | 55 lbs | 45 lbs | 25 lbs | 20 lbs | 15 lbs |
Ryobi Tiller – Buying Guide
Ryobi Brand and Its Reputation in the Gardening Industry
The Ryobi brand, established in 1943, has earned a commendable reputation within the gardening industry for its unwavering commitment to producing high-quality, reliable outdoor power tools. Recognized for its innovation, durability, and user-friendly designs, Ryobi has become a trusted name among gardeners, landscapers, and DIY enthusiasts alike.
Ryobi’s dedication to excellence is exemplified through its extensive range of products, which consistently meet and exceed the demands of modern horticultural practices. With a focus on providing efficient and sustainable solutions, the brand has garnered a loyal customer base that values both the performance and longevity of Ryobi tools.
Models Available and Their Specifications
The Ryobi Tiller line-up offers a diverse array of models, each tailored to suit varying gardening needs and preferences. From compact, lightweight units suitable for smaller plots to robust, heavy-duty models capable of handling larger-scale projects, Ryobi caters to a wide spectrum of gardening enthusiasts.
These models are characterized by their distinct specifications, encompassing factors such as engine power, tilling width, tilling depth, and additional features. The range provides flexibility for users to select a tiller that aligns precisely with the scale and nature of their gardening endeavors.
Furthermore, Ryobi places a strong emphasis on engineering advancements, integrating modern technologies to enhance performance, fuel efficiency, and user convenience. This commitment to technological innovation ensures that every Ryobi Tiller is not only a powerful tool but also an intelligent investment in sustainable gardening practices.
What Makes the Ryobi Tiller Stand Out?
- Advanced Tine Design: The Ryobi Tiller boasts a cutting-edge tine configuration, meticulously engineered to optimize soil penetration and tilling efficiency. This innovative design facilitates thorough aeration and cultivation, resulting in improved soil structure and plant growth.
- Adjustable Depth and Width Settings: The ability to customize tilling depth and width grants users unparalleled control over their gardening tasks. Whether preparing seedbeds, cultivating between rows, or turning over existing beds, the Ryobi Tiller adapts effortlessly to the specific requirements of each project.
- Ergonomic Handle Design: Recognizing the importance of user comfort and ergonomics, Ryobi integrates thoughtfully designed handles that reduce operator fatigue during extended use. This feature enhances maneuverability and ensures a more comfortable experience for users of all levels of expertise.
- Easy Maintenance and Serviceability: Ryobi prioritizes user-friendly maintenance, allowing for straightforward upkeep of the tiller. Accessible components and well-documented maintenance procedures contribute to the longevity and reliability of the tool, providing users with a cost-effective solution for their gardening needs.
- Environmental Considerations: Ryobi Tiller models are engineered with a focus on eco-conscious gardening practices. Incorporating fuel-efficient engines and emissions-reducing technologies, these tillers demonstrate the brand’s commitment to sustainability and environmental stewardship.
The Ryobi Tiller series stands out in the gardening industry due to its unparalleled combination of advanced features, thoughtful design, and enduring performance. Whether a seasoned horticulturist or a novice gardener, users can rely on Ryobi to deliver a tool that not only meets their immediate needs but also sets a standard for excellence in outdoor power equipment.
How to Choose Ryobi Tiller?
Step-by-step guide on assembling the Ryobi Tiller
The assembly of the Ryobi Tiller is a crucial initial step to ensure its proper functioning and longevity. Following these step-by-step instructions will facilitate a seamless assembly process:
- Unpacking and Inventory: Begin by carefully unpacking the contents of the Ryobi Tiller package. Take inventory of all the components mentioned in the included manual to verify that nothing is missing.
- Laying out Components: Lay out all the components in a clear, well-lit area. This provides a visual reference and prevents any oversight during the assembly process.
- Identifying Parts: Familiarize yourself with the various components, referring to the provided user manual or instructional materials. Take note of any unique features or specialized parts.
- Connecting Handles: Attach the handles to the main body of the tiller as per the manufacturer’s guidelines. Ensure all fasteners are securely tightened to prevent any wobbling during operation.
- Mounting Wheels (if applicable): If the Ryobi Tiller is equipped with wheels, carefully affix them to the designated mounting points. Ensure they rotate freely and are securely attached.
- Securing Additional Components: Install any supplementary attachments or accessories that may accompany the tiller, such as guards or depth adjusters, according to the provided instructions.
- Verifying Connections: Double-check all connections and fastenings to guarantee that they are properly secured. Any loose or improperly fitted components may compromise the tiller’s performance and safety.
- Inspecting for Defects: Conduct a thorough visual inspection to identify any manufacturing defects or irregularities. Report any concerns to the manufacturer or supplier promptly.
- Consulting the User Manual: Refer to the user manual for any model-specific nuances or instructions that may not be covered in this general assembly guide.
Importance of safety precautions while operating the tiller
Safety is paramount when operating any power tool, and the Ryobi Tiller is no exception. Adherence to established safety protocols ensures not only personal well-being but also the longevity and efficiency of the equipment. Key safety precautions include:
- Protective Gear: Always wear appropriate safety gear, including but not limited to safety goggles, hearing protection, sturdy footwear, and long pants. Gloves are also recommended to safeguard hands from debris.
- Clearing the Workspace: Prior to operation, clear the area of any potential obstructions, such as rocks, branches, or loose debris, which could interfere with the tiller’s operation or pose a safety hazard.
- Stable Footing: Ensure you have secure and stable footing while operating the tiller. Avoid slippery or uneven surfaces that may lead to loss of balance or control.
- Operating in Adequate Lighting: Avoid using the tiller in low-light conditions or during adverse weather. Optimal visibility is essential for safe and effective operation.
- Maintaining Distance from Blades: Exercise caution and maintain a safe distance from the rotating tines. Never attempt to adjust or perform maintenance while the tiller is in operation.
- Emergency Shut-off: Familiarize yourself with the tiller’s emergency shut-off mechanism and know how to swiftly deactivate the equipment in case of an unforeseen event.
Recommended safety gear and clothing for using Ryobi Tiller
To ensure a secure and productive operation of the Ryobi Tiller, it is imperative to outfit oneself with the appropriate safety gear and clothing:
- Safety Goggles: Protect the eyes from flying debris and dirt particles that may be propelled during tilling.
- Hearing Protection: Shield the ears from the noise generated by the tiller’s engine and rotating components.
- Sturdy Footwear: Wear closed-toe, slip-resistant footwear to maintain stable footing and protect the feet from potential hazards.
- Long Pants and Sleeves: Prevent contact with rotating parts or debris by wearing long pants and sleeves.
- Gloves: Provide additional protection for the hands and improve grip while handling the tiller.
- Sun Protection: If operating in direct sunlight, consider wearing a wide-brimmed hat and applying sunscreen to shield against harmful UV rays.
By strictly adhering to these recommended safety measures, operators can create a secure environment while using the Ryobi Tiller, minimizing the risk of accidents or injuries.
Operating the Ryobi Tiller
Preparing the Soil for Tilling: Assessing Soil Conditions and Moisture Levels
Before engaging the Ryobi Tiller, it is imperative to conduct a thorough assessment of the soil conditions to ensure optimal tilling results. This initial step sets the foundation for a successful tillage process.
1. Soil Moisture Assessment:
-
- Adequate soil moisture is crucial for effective tilling. Soil that is too dry may result in excessive resistance, while overly wet soil can lead to clumping and inefficient tillage.
- Test the soil by taking a handful and squeezing it. If it crumbles easily when released, it is generally suitable for tilling.
2. Soil Composition Evaluation:
-
- Understand the composition of the soil, whether it is predominantly clay, sandy, or loamy. This knowledge informs adjustments in the tilling process to accommodate different soil types.
3. Debris Removal:
-
- Clear the area of any large rocks, roots, or debris that may obstruct the tiller’s operation. This prevents damage to the equipment and ensures a smooth tilling process.
Starting and Maneuvering the Ryobi Tiller Effectively
Proper operation of the Ryobi Tiller is contingent upon understanding the starting procedure and maneuvering techniques.
1. Starting Procedure:
-
- Ensure the tiller is placed on a flat, stable surface.
- Engage the choke if the engine is cold, then pull the starter cord gently until resistance is felt, and then give a firm, steady pull to start the engine.
2. Adjusting Throttle and Speed:
-
- Familiarize yourself with the throttle control to regulate the engine speed. Lower speeds are suitable for intricate tasks, while higher speeds are preferable for more robust tilling.
3. Maintaining a Consistent Pace:
-
- Maintain a steady, even pace while tilling. Avoid sudden stops and starts, as they may lead to uneven tillage.
Adjusting Depth and Width Settings for Optimal Tilling Results
Customizing the depth and width settings of the Ryobi Tiller is pivotal in achieving desired tilling outcomes.
1. Depth Adjustment:
-
- Utilize the depth adjustment lever to determine how deep the tiller’s tines penetrate the soil. For initial passes, begin with a shallower setting and gradually increase depth as needed.
2. Width Adjustment:
-
- Adjust the tilling width by either removing or adding tines according to the desired coverage area. This enables precision in tilling around narrow spaces or expansive areas.
Techniques for Tilling Different Types of Soil (e.g., Clay, Sandy, Loamy)
Each soil type necessitates specific techniques to optimize the tilling process.
1. Clay Soil:
-
- Begin with a shallow depth setting and gradually increase as needed. Clay soil requires more time for effective tillage due to its dense nature. Take care to prevent overworking, which can lead to compaction.
2. Sandy Soil:
-
- Adjust the depth setting to a moderate level. Be cautious, as sandy soil is more prone to displacement. Focus on achieving a consistent, uniform tillage.
3. Loamy Soil:
-
- Loamy soil is generally considered the most fertile and workable. A moderate depth setting is usually sufficient. Pay attention to achieving an even tillage without overworking the soil.
By adhering to these guidelines, you can effectively operate the Ryobi Tiller across a spectrum of soil types, ensuring optimal results for your gardening endeavors.
Maintenance and Care
Regular cleaning and inspection of the Ryobi Tiller
Proper maintenance of your Ryobi Tiller is paramount to ensure its longevity and sustained performance. Regular cleaning and inspection routines should be diligently followed. Begin by turning off the tiller, disconnecting it from any power sources, and allowing it to cool down before initiating any maintenance procedures.
- Cleaning: Remove excess dirt, debris, and plant matter from the tiller’s exterior and tines using a stiff brush or compressed air. Pay close attention to the tines, as accumulation can hinder their effectiveness. Avoid using high-pressure water as it may force dirt into sensitive components.
- Air Filter and Cooling Fins: Periodically clean the air filter to maintain proper airflow and combustion efficiency. Gently tap it to remove loose debris, or wash it with mild detergent if necessary. Additionally, inspect the cooling fins for obstructions and clear them as needed.
- Inspecting Belts and Chains: Check for signs of wear or damage on belts and chains. Replace them if there are visible cracks, frays, or any other signs of deterioration.
- Electrical Components: Ensure all electrical connections are secure, and there are no exposed wires. Lubricate switches and connectors to prevent corrosion.
- Fuel System: Examine the fuel lines for cracks or leaks. Replace any damaged components immediately. Additionally, drain and replace the fuel if it has been stored for an extended period.
Lubrication and oiling of essential components
Proper lubrication is essential to reduce friction and wear on crucial moving parts, thereby extending the life of your Ryobi Tiller.
- Lubricate Pivot Points and Joints: Apply a high-quality lubricant to pivot points, handles, and joints. This minimizes friction, ensuring smooth operation.
- Engine Oil: Regularly check the engine oil level using the provided dipstick. Top up or change the oil as per the manufacturer’s recommendations. Ensure you use the recommended oil grade for optimal performance.
- Transmission and Gearbox: Refer to the owner’s manual for specific instructions on lubricating the transmission and gearbox. Overlooking this can lead to premature wear and reduced efficiency.
Sharpening and replacing tines for optimal performance
The tines of your Ryobi Tiller are vital components that directly affect its performance. Regular maintenance in this regard is critical for efficient operation.
- Tine Inspection: Periodically inspect the tines for signs of wear, such as bluntness, bends, or cracks. Replace any damaged tines promptly.
- Tine Sharpening: If tines appear dull, they should be sharpened using a file or grinder. Ensure uniform sharpening to maintain balance and prevent undue stress on the engine.
- Tine Replacement: When tines become excessively worn or damaged beyond repair, it is imperative to replace them promptly. Refer to the owner’s manual for guidance on correct replacement procedures.
Troubleshooting common issues and solutions
Even with meticulous maintenance, occasional issues may arise. Familiarizing yourself with common problems and their respective solutions will help you address them effectively.
- Engine Starting Problems: If the engine fails to start, check the fuel level, spark plug, and air filter. Ensure that the ignition switch is on and the choke lever is in the correct position.
- Lack of Power: If the tiller is not performing at full capacity, inspect the tines for damage or dullness. Additionally, ensure the engine is operating at the recommended RPM.
- Excessive Vibration: Excessive vibration can be indicative of misaligned or damaged components. Inspect the tines, belts, and pulleys for any irregularities.
- Unusual Noises: Unusual sounds may indicate loose or damaged parts. Inspect the tiller for any loose nuts, bolts, or foreign objects lodged in the tines.
By adhering to these meticulous maintenance and care practices, you will not only extend the lifespan of your Ryobi Tiller but also ensure it operates at peak efficiency, contributing to a flourishing garden. Remember to consult the owner’s manual for specific maintenance intervals and procedures tailored to your model.
Conclusion
The Ryobi Tiller stands as an exemplar of precision engineering and functionality in the realm of gardening tools. Through the course of this comprehensive guide, we have delved into the various facets of this indispensable companion for the modern gardener.
From its initial assembly to the finer points of operation, we have elucidated the steps and precautions necessary to wield this tool with efficacy and safety. By acquainting oneself with the nuances of soil preparation and adept handling, one can harness the full potential of the Ryobi Tiller.
The importance of regular maintenance and care has been underscored, emphasizing the pivotal role it plays in ensuring the longevity and consistent performance of the tiller. By adhering to recommended practices, one not only safeguards their investment but also upholds a standard of operational excellence.
Furthermore, we have expounded upon techniques to enhance efficiency, offering time-saving strategies for ambitious tilling projects. Additionally, insights into complementary tools and accessories have been shared to augment the Ryobi Tiller’s capabilities, elevating it beyond a mere tiller to a comprehensive soil cultivation system.