Have you ever noticed unsightly gaps or cracks around your windows, doors, or baseboards? These gaps not only affect the appearance of your home but can also let in drafts and moisture. This is where caulk comes in, the superhero of sealants. Caulk is a flexible material that can be applied to seal gaps and cracks, providing a barrier against air, water, and insects. But simply applying caulk isn’t enough – to achieve a truly polished look, it’s essential to paint over it. Lets look into our guide about Painting over Caulk.
Importance of Painting over Caulk for a Clean, Finished Look
Painting over caulk not only gives your home a more professional and polished appearance, but it also helps to protect the caulk from exposure to the elements. Over time, caulk can deteriorate due to sunlight and temperature fluctuations, which can cause it to crack and peel. Painting over caulk provides an extra layer of protection, helping to extend its lifespan and ensure that your home stays sealed against drafts and moisture.
Choosing the Right Caulk for Painting
Overview of Types of Caulk and Their Paintability
When it comes to selecting the right caulk for your painting project, it’s important to consider the paintability of the caulk. Not all caulks are created equal when it comes to painting, and selecting the wrong type of caulk can result in a finish that is bumpy, cracked, or peeling. Some types of caulks that are more commonly used for painting include:
- Acrylic Latex Caulk: This is the most commonly used type of caulk for painting. It dries quickly, can be painted over in as little as an hour, and is easy to clean up with soap and water.
- Silicone Caulk: While silicone caulk is more difficult to paint over than acrylic latex caulk, it can be done with the right preparation. It is often used in areas where a waterproof seal is needed, such as around showers and tubs.
- Polyurethane Caulk: Polyurethane caulk is a very durable and flexible option that is ideal for outdoor use. However, it is more difficult to paint over than other types of caulk and requires a specialized paint.

Tips for Selecting the Right Caulk for the Job
When selecting the right caulk for your project, it’s important to consider the following:
- The location of the caulk: If the caulk will be exposed to moisture, such as in a bathroom or kitchen, a waterproof caulk such as silicone may be the best choice.
- The color of the caulk: If you are painting over the caulk, you will want to select a caulk that is a similar color to the paint you will be using. This will help to ensure that the finish looks seamless.
- The flexibility of the caulk: Some caulks are more flexible than others, which is important if the area being caulked is prone to movement. A more flexible caulk will be less likely to crack or peel over time.
By selecting the right caulk for your project and taking the time to properly paint over it, you can achieve a seamless and professional-looking finish that will provide long-lasting protection for your home.
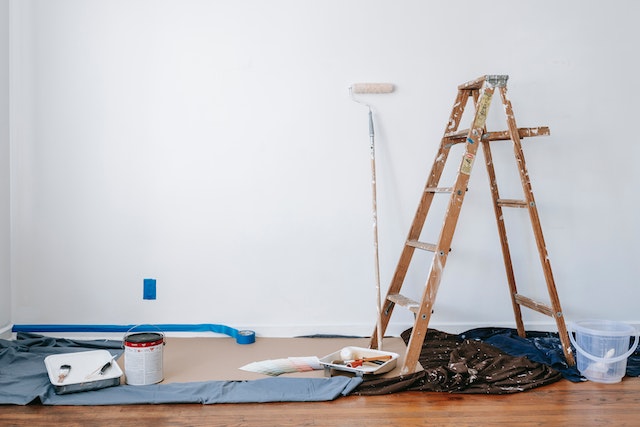
Preparing the Surface
When it comes to painting over caulk, the surface preparation is key to achieving a smooth, professional-looking finish. Here are the steps you should follow to clean and prepare the caulked surface for painting:
Steps for cleaning and preparing the caulked surface for painting
- Remove any old paint or residue: Before you start cleaning the surface, make sure to remove any old paint or residue that might interfere with the new paint adhering properly. Use a scraper or a putty knife to gently remove any flaking paint or dirt.
- Clean the surface: Once you have removed any old paint or residue, clean the surface thoroughly. Use a damp sponge or a cloth to wipe down the caulked area, removing any dust or debris. If the caulk is particularly dirty, you can use a mild soap solution to clean it.
- Sand the surface: After cleaning the surface, you’ll need to sand it down to create a smooth, even surface for the new paint to adhere to. Use a fine-grit sandpaper to lightly sand the surface, being careful not to damage the caulk. You don’t need to sand it down to bare wood, just enough to create a rough texture that the paint can grip.
Importance of allowing the caulk to fully cure before painting
One of the most critical steps when it comes to painting over caulk is allowing the caulk to fully cure before applying any paint. Curing time can vary depending on the type of caulk you use and the conditions you are working in. As a general rule, silicone caulk can take up to 24 hours to cure completely, while latex caulk can be ready in as little as four hours.
Make sure you read the manufacturer’s instructions on the caulk packaging to determine the recommended cure time, and plan accordingly. Avoid painting over caulk that has not fully cured, as it can cause the paint to crack or peel.

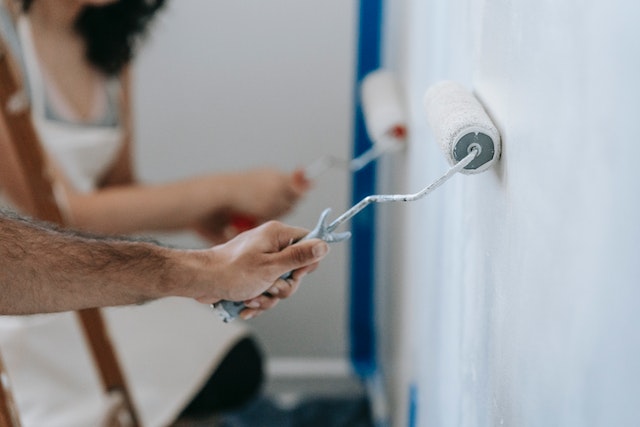
Painting Techniques
Tips for applying paint over caulk without damaging the seal
Once you’ve prepped the surface and allowed the caulk to fully cure, you’re ready to paint. Here are some tips to keep in mind when painting over caulk to ensure you don’t damage the seal:
- Use a quality paintbrush: A good-quality paintbrush is essential for achieving a smooth finish when painting over caulk. Use a brush that’s the right size for the area you’re working on, and avoid using too much pressure when painting.
- Apply the paint in thin coats: It’s better to apply several thin coats of paint rather than one thick coat. This will help the paint to dry evenly and reduce the risk of cracking or peeling.
- Let the paint dry between coats: Make sure to let each coat of paint dry completely before applying the next. This will help you achieve a smooth, even finish.
Recommendations for the type of paint and tools to use
Choosing the right paint and tools is also important when painting over caulk. Here are some recommendations to keep in mind:
- Use a paint that’s compatible with the caulk: Not all paints are suitable for use over caulk. Choose a paint that is compatible with the type of caulk you are using.
- Use a paint that’s appropriate for the surface: Consider the surface you’re painting over and choose a paint that’s appropriate for it. For example, if you’re painting over a surface that will be exposed to water, choose a paint that’s water-resistant.
- Use a paint roller for large areas: If you’re working on a large area, using a paint roller can help you apply the paint more quickly and evenly.
Preparing the surface and using the right paint and tools are crucial for painting over caulk. By following these steps and tips, you can ensure a professional-looking finish that will last for years to come. Remember to be patient, allow the caulk to fully cure, and take your time when applying the paint. With a little bit of care and attention, you can achieve a beautiful result that will make your caulked surfaces look like new.

Potential Issues with Painting Over Caulk
Painting over caulk can give your home a finished, professional look. However, if not done correctly, it can lead to common issues such as cracking and peeling. In this section, we will discuss these potential issues and how to avoid them.
One common issue that can arise when painting over caulk is cracking. This can occur when the caulk is not properly cured before painting or if the surface was not properly cleaned and prepped beforehand. Another potential cause of cracking is using the wrong type of caulk for the specific job.
Peeling is another issue that can occur when painting over caulk. This can happen if the caulk was not applied properly or if the paint was applied too thickly. In some cases, peeling can also occur if the caulk was not allowed to fully cure before painting.
How to avoid these issues and troubleshoot if they occur
- To avoid cracking or peeling when painting over caulk, it is important to properly prepare the surface before painting. This includes thoroughly cleaning the caulk and allowing it to fully cure. It is also important to select the right type of caulk for the job, as some types are not meant to be painted over.
- Another way to avoid these issues is to apply the paint in thin, even coats, allowing each coat to dry fully before applying the next. This will help prevent the paint from building up too thickly and causing the caulk to peel.
- If cracking or peeling does occur, there are steps you can take to troubleshoot the issue. For cracking, you can remove the affected areas and reapply caulk, making sure to allow it to cure fully before repainting. If peeling occurs, you may need to strip the paint from the affected areas and reapply it in thinner coats.
Painting over caulk can give your home a finished, professional look, but it is important to be aware of potential issues that can arise. By properly preparing the surface, selecting the right type of caulk, and applying the paint in thin, even coats, you can avoid common issues such as cracking and peeling. If these issues do occur, there are steps you can take to troubleshoot the problem and achieve a beautiful, long-lasting finish.