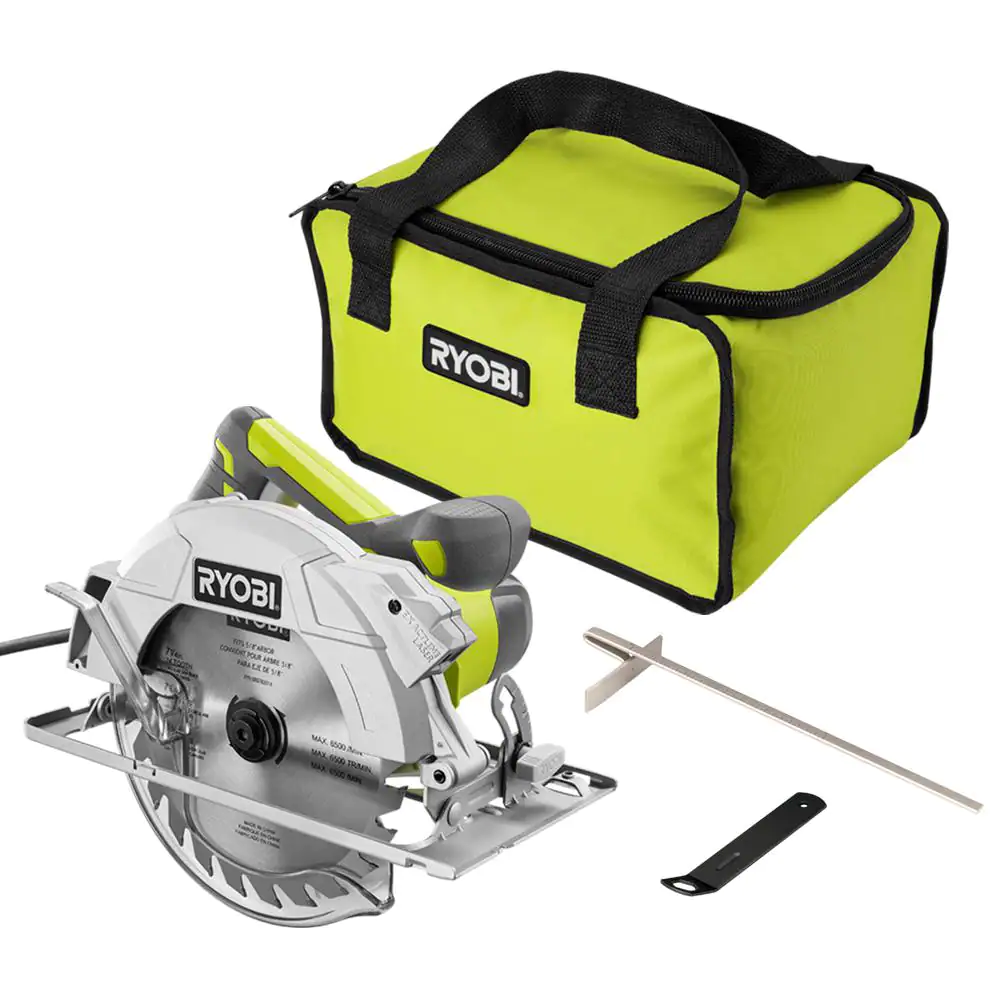
How to Use Ryobi Circular Saw
The Ryobi circular saw is a versatile and powerful tool that can make woodworking and DIY projects a breeze. Whether you’re a seasoned woodworker or a novice DIY enthusiast, understanding how to use a circular saw correctly is essential for safety and precision. In this comprehensive guide, we will walk you through the steps of using a Ryobi circular saw effectively and safely.
Step 1: Safety First
Before diving into how to use the Ryobi circular saw, it’s crucial to prioritize safety. Here are some safety precautions to keep in mind:
- Wear Safety Gear: Always wear safety goggles or a face shield to protect your eyes, ear protection to guard against the saw’s noise, and appropriate clothing, including long sleeves and pants.
- Secure Your Workpiece: Ensure that the material you’re cutting is firmly secured in place, either with clamps or another reliable method. This prevents it from moving during the cut.
- Check Your Blade: Make sure the saw blade is sharp and in good condition. Dull blades can lead to dangerous kickbacks.
- Disconnect Power: Before making any adjustments or changing the blade, unplug the saw or remove the battery for cordless models.
Step 2: Adjust the Cutting Depth
The depth of your cut is crucial for achieving clean and precise results. Here’s how to adjust the cutting depth on a Ryobi circular saw:
- Locate the depth adjustment lever or knob on the saw, typically located near the front of the tool.
- Loosen or unlock the lever/knob.
- Adjust the depth by raising or lowering the base plate to your desired depth.
- Tighten or lock the lever/knob to secure the depth setting.
Step 3: Set the Bevel Angle (if needed)
Ryobi circular saws allow you to make bevel cuts at different angles. Here’s how to set the bevel angle:
- Locate the bevel adjustment lever, usually at the front or rear of the saw.
- Loosen the lever to allow the base plate to tilt.
- Adjust the plate to your desired bevel angle, commonly ranging from 0 to 45 degrees.
- Tighten the lever to lock the base plate in place.
Step 4: Position and Start Cutting
Now that your saw is properly adjusted, you’re ready to make your cut:
- Place the saw on the edge of the workpiece, aligning the blade with the cutting line.
- Ensure that the saw’s base plate is flat against the material.
- Firmly grasp the saw’s handle with both hands, keeping your body to the side of the blade’s path.
- Squeeze the trigger to start the saw.
- Slowly and steadily push the saw forward, keeping it aligned with the cutting line.
Step 5: Complete the Cut
As you approach the end of your cut:
- Release the trigger and allow the blade to come to a complete stop.
- Keep the saw in place until the blade stops spinning.
- Carefully lift the saw away from the workpiece.
Step 6: Practice Makes Perfect
Using a circular saw effectively takes practice. Start with simple cuts on scrap wood to gain confidence and refine your skills before tackling more complex projects.
Video Guide on How to Use Ryobi Circular Saw
Official Ryobi Guide
How to Use Ryobi Circular Saw by Amr Trading
How to Operate Ryobi’s Battery Operated Circular Saw
A Ryobi circular saw is a valuable tool in any DIY enthusiast’s or woodworker’s arsenal. By following these steps and always prioritizing safety, you can make precise cuts and complete projects with confidence. Remember that practice and familiarity with your specific model will further enhance your abilities. Happy cutting!

