
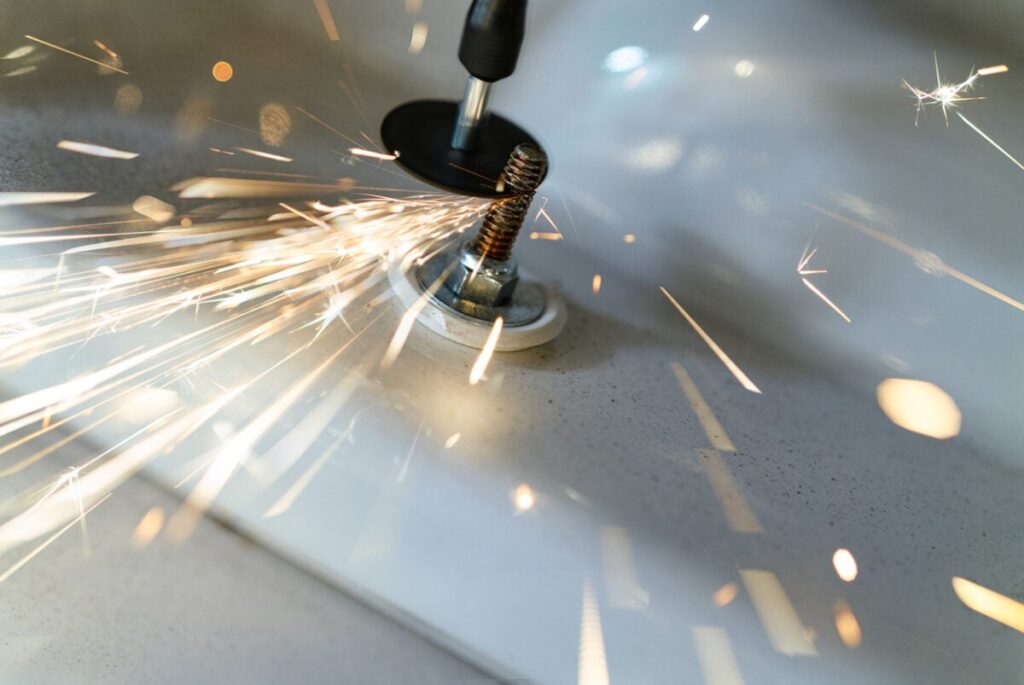
How to Cut Metal at Home without Tools
Ever stuck in a situation where you wondered how to cut metal at home without tool? Cutting metal at home can be a daunting task, especially if you lack access to specialized tools like angle grinders, plasma cutters, or metal cutting saws. However, with a bit of ingenuity and some basic materials, it’s possible to achieve satisfactory results when working with metal. In this guide, we will explore three inventive methods for cutting metal at home without the conventional arsenal of tools. Whether you’re a DIY enthusiast, an artist, or someone in need of a quick metal cutting solution, these techniques will help you accomplish your projects and repairs safely and effectively.
So, let’s dive into the world of DIY metal cutting, where creativity meets resourcefulness:
Method 1: Using a Hacksaw Blade to Cut Metal
Note: Ensure you have a clear workspace and that you’re following all safety precautions throughout the process.
Step 1. Gather Materials and Safety Gear
- Materials:
- Metal sheet or rod that needs to be cut.
- Safety Gear:
- Hacksaw blade.
- Work gloves to protect your hands.
- Safety goggles to shield your eyes from metal shavings.
- A clamp or vise to secure the metal.
- Protective clothing to prevent injury to your body.
Step 2. Mark the Cutting Line
- Use a marker or scribe to mark the desired cut line on the metal. This mark will serve as your guide during cutting.
Step 3. Secure the Metal
- Clamp the metal securely to a workbench or table. Ensure it doesn’t move during cutting, as this can affect the accuracy of the cut and pose a safety hazard.
Step 4. Prepare the Hacksaw Blade
- Remove the hacksaw blade from its frame. Most hacksaw blades can be detached easily.
- Hold one end of the blade in each hand, ensuring it’s straight and taut. The blade should have fine teeth designed for cutting metal.
Step 5. Begin Cutting
- Place the blade on the marked cut line. Position it at the starting point of the cut.
- Apply downward pressure on the blade to make it bite into the metal.
- Begin moving the blade back and forth in a sawing motion. Use long, smooth strokes.
- Keep the blade perpendicular to the metal. This will help you achieve a straight and precise cut.
Step 6. Continue Cutting
- Regularly apply cutting oil or a lubricant to the cut line. This reduces friction and prevents the blade from overheating.
- Maintain a steady pace while sawing. Apply consistent pressure to the blade as you work your way along the cut line.
- As you progress, you’ll notice the metal gradually being cut through.
Step 7. Safety Precautions
- Wear safety goggles and work gloves at all times. These protect you from potential metal shavings and debris.
- Take breaks if necessary to avoid hand fatigue. Cutting metal can be physically demanding, so rest your hands and wrists when needed.
- Be cautious of hot metal edges after cutting. Metal may become heated during the cutting process, so avoid touching the freshly cut area until it has cooled down.
By following these steps and safety precautions, you can effectively use a hacksaw blade to answer the daunting question of how to cut metal at home without tools. Remember to work patiently and methodically to achieve the desired results, and prioritize safety throughout the process.
Method 2: Using an Abrasive Wheel and a Power Drill
Step 1: Gather Materials and Safety Gear
Before you start cutting metal using an abrasive wheel and a power drill, gather all the necessary materials and safety gear:
- Metal sheet or rod: The piece of metal you intend to cut.
- Abrasive cutting wheel attachment for a power drill: Ensure it’s compatible with your drill.
- Power drill: A standard power drill with adjustable speed settings.
- Work gloves: Sturdy gloves to protect your hands.
- Safety goggles: Eye protection to shield against metal particles.
- Clamp or vise: To securely hold the metal in place during cutting.
- Protective clothing: Long sleeves and pants to protect your skin.
Step 2: Mark the Cutting Line
- Take the metal sheet or rod and use a marker or scribe to clearly mark the desired cut line. Ensure that the line is straight and aligns with your cutting intentions.
Step 3: Secure the Metal
- Place the marked metal on a workbench or table.
- Use a clamp or vise to securely hold the metal in place. This prevents it from moving while you’re cutting, ensuring safety and accuracy.
Step 4: Attach the Abrasive Wheel
- Insert the abrasive cutting wheel into the chuck of your power drill. Make sure it’s properly seated.
- Tighten the chuck securely to ensure the wheel won’t come loose during operation. Follow the manufacturer’s instructions for your specific drill and wheel.
Step 5: Begin Cutting
- Position the power drill with the attached abrasive wheel on the marked cut line.
- Start the power drill at a low speed setting. This initial low speed prevents sudden jerks and allows you to maintain control.
- Gradually increase the drill’s speed to the desired cutting speed, which can vary depending on the thickness and type of metal you’re cutting.
- Apply light but steady pressure as you guide the abrasive wheel along the cut line. Let the wheel do the cutting; avoid excessive force, as this can lead to overheating and reduced cutting efficiency.
Step 6: Continue Cutting
- Maintain a steady and controlled pace while cutting, ensuring that the abrasive wheel follows the marked line.
- Periodically stop cutting to apply water or a cutting fluid to the metal and wheel. This helps dissipate heat and prolongs the life of the abrasive wheel.
- If you encounter resistance or the cutting process slows down, you may need to adjust the drill’s speed or the pressure you’re applying. Make these adjustments carefully to avoid damaging the wheel or the metal.
Step 7: Safety Precautions
- Throughout the cutting process, wear safety goggles and gloves to protect yourself from metal particles and potential sparks.
- Keep a firm grip on the power drill and ensure it remains stable during cutting.
- Be cautious of hot metal shavings and sparks generated during cutting. These can cause burns or fires, so work in a safe and controlled environment.
By following these step-by-step instructions and adhering to safety precautions, you can successfully answer the question of how to cut metal at home without tools using an abrasive wheel and a power drill at home. Remember that practice improves your cutting skills, so start with simpler projects and gradually tackle more complex ones as you become more comfortable with the process.
Method 3: Using a Cold Chisel and Hammer
Step 1: Gather Materials and Safety Gear
Before you begin cutting metal using a cold chisel and hammer, it’s crucial to gather all the necessary materials and safety gear. These include:
- Metal sheet or rod: The piece of metal you intend to cut.
- Cold chisel: A sharp-edged metal tool designed for cutting and shaping metal.
- Ball-peen hammer: A hammer with a flat striking face on one side and a rounded peen on the other.
- Work gloves: To protect your hands from sharp edges and splinters.
- Safety goggles: To shield your eyes from flying metal fragments and debris.
- Clamp or vise: These are used to secure the metal firmly in place during cutting.
- Protective clothing: Wear appropriate clothing that covers your body to protect against any sparks or metal shards.
Step 2: Mark the Cutting Line
- Using a marker or scribe, mark the desired cut line on the metal. This line will serve as your guide during the cutting process. Ensure that the line is straight and accurately placed where you want the metal to be cut.
Step 3: Secure the Metal
- To prevent the metal from moving during cutting, clamp it securely to a workbench or table using a suitable clamp or vise. Make sure it’s held firmly in place, as any movement could lead to inaccurate cuts or accidents.
Step 4: Position the Cold Chisel
- Place the cold chisel on the marked cut line with the sharp edge facing the waste portion of the metal. The sharp edge of the chisel should be aligned precisely with the cut line to ensure a clean and accurate cut.
Step 5: Begin Cutting
- With the cold chisel in position, take your ball-peen hammer in hand.
- Begin by striking the cold chisel firmly along the marked cut line. Start with light to moderate force to create an initial groove.
- Gradually increase the force of your strikes as you move the chisel along the cut line. Continue to strike the chisel repeatedly in the same spot.
- As you strike the chisel, the metal will begin to separate along the cut line. The repeated blows will help the chisel penetrate the metal and eventually create a clean cut.
Step 6: Continue Cutting
- Maintain a controlled hammering rhythm to ensure a straight and even cut.
- Use a back-and-forth motion with the chisel as you continue to strike along the cut line.
- Pay close attention to the progress of the cut and make adjustments as needed to keep it on track.
- Be patient and methodical to achieve a clean and precise cut.
Step 7: Safety Precautions
- Throughout the cutting process, wear safety goggles to protect your eyes from any flying metal fragments or chips.
- Keep your hands away from the cutting area to avoid accidental injury, and always strike the chisel with the hammer.
- Be cautious of sharp edges on the cut metal as well as any metal shards that may result from the cutting process.
By following these steps and taking the necessary safety precautions, you can effectively cut metal using a cold chisel and hammer at home. This method is suitable for basic metal cutting tasks but may require practice to achieve clean and accurate cuts.

Method 4: Using a Chisel and Mallet
Step 1: Gather Materials and Safety Gear
Before you begin cutting metal using a chisel and mallet, make sure you have all the necessary materials and safety gear:
- Metal sheet or rod that you intend to cut.
- Chisel, preferably a cold chisel with a sharp edge.
- Mallet or a heavy hammer.
- Work gloves to protect your hands.
- Safety goggles to shield your eyes from debris.
- Clamp or vise to secure the metal.
- Protective clothing, such as long-sleeved shirts and pants, to shield your body from metal fragments.
Step 2: Mark the Cutting Line
- Use a marker or scribe to clearly mark the desired cut line on the metal surface. Ensure that the line is straight and accurately represents where you want to make the cut.
Step 3: Secure the Metal
- Clamp the metal securely to a workbench or table. The goal is to prevent any movement of the metal during the cutting process, which could result in an uneven or inaccurate cut.
Step 4: Position the Chisel
- Place the chisel on the marked cut line with the sharp edge facing the waste portion of the metal. Ensure that the chisel is aligned precisely along the line to achieve a straight cut.
Step 5: Begin Cutting
- Hold the mallet or heavy hammer firmly in your dominant hand.
- With the chisel in your other hand, carefully aim the chisel’s tip at the starting point of the cut line.
- Using controlled force, strike the chisel with the mallet or hammer. The sharp edge of the chisel will start cutting into the metal.
- Make controlled strikes while gradually moving the chisel along the cut line. This process will cause the metal to begin separating along the marked line.
Step 6: Continue Cutting
- Maintain a consistent rhythm while hammering to ensure a straight and clean cut.
- Use a back-and-forth motion to create a clean and controlled cut. This will prevent the chisel from veering off the desired path.
- Continue striking and advancing the chisel along the cut line until the metal is completely severed.
Step 7: Safety Precautions
- Wear safety goggles and gloves throughout the entire cutting process to protect against flying metal fragments and potential hand injuries.
- Keep your hands away from the cutting area. Always maintain a safe distance between your hands and the chisel to avoid accidental injuries.
- Be cautious of sharp edges on the cut metal. After the cut is complete, use a file or sandpaper to smooth any rough edges to prevent injury when handling the cut piece.
By following these step-by-step instructions, you can safely and effectively cut metal using a chisel and mallet. Remember to prioritize safety and take your time to achieve a clean and accurate cut.
Method 5: Using a Propane Torch and Water to Cut Metal
Cutting metal using a propane torch and water can be effective for certain types of metal, and it’s essential to follow these steps carefully to ensure safety and success.
Step 1. Gather Materials and Safety Gear:
- Materials:
- Metal sheet or rod (the type of metal should be suitable for this method)
- Propane torch with a flame nozzle attachment
- Fire-resistant surface (such as brick or concrete) for working on
- Bucket of water (large enough to fully submerge the metal)
- Safety Gear:
- Work gloves to protect your hands from hot metal and steam
- Safety goggles to shield your eyes from sparks and heat
- Protective clothing to cover exposed skin and prevent burns
Step 2. Mark the Cutting Line:
- Use a marker or scribe to clearly mark the desired cut line on the metal. This line will guide you during the cutting process.
Step 3. Secure the Metal:
- Place the metal on a fire-resistant surface. Ensure that there are no flammable materials nearby to avoid any potential fire hazards.
Step 4. Heat the Metal:
- Using the propane torch, ignite the flame and adjust it to a medium to high setting.
- Carefully move the flame along the marked cut line on the metal.
- Continue heating the metal until it becomes red-hot along the entire marked line. This process may take a few minutes depending on the thickness of the metal.
Step 5. Quench in Water:
- Once the metal is uniformly red-hot along the marked cut line, immediately and carefully move it into the bucket of water.
- Submerge the entire heated section of the metal in the water.
- The rapid cooling of the metal in water will cause it to become brittle along the heated line, making it easier to break.
Step 6. Break the Metal:
- With the metal submerged in water, use a hammer or a pair of pliers to apply force along the heated line.
- Apply pressure evenly and firmly to encourage the metal to fracture along the line you heated.
- If the metal doesn’t break initially, you may need to continue tapping or applying pressure until it separates.
Step 7. Safety Precautions:
- Throughout the entire process, ensure you are wearing the necessary safety gear:
- Safety goggles to protect your eyes from sparks and heat.
- Heat-resistant gloves to protect your hands from hot metal and steam.
- Use extreme caution when working with open flames and hot metal.
- Be mindful of the water and steam produced when you quench the metal, as it can be scalding. Keep a safe distance and avoid leaning over the bucket during this step.
- Always work in a well-ventilated area to dissipate any fumes from the heating process.
This method can be effective for cutting certain types of metal, but it requires careful attention to safety and proper technique. Be aware that the metal may have sharp edges after breaking, so handle it with caution.
Cutting metal without traditional tools is indeed possible, thanks to the creative techniques we’ve explored in this blog post about How to Cut Metal at Home without Tools. From using simple hacksaw blades to employing propane torches and water, these methods offer resourceful alternatives for DIY enthusiasts and hobbyists alike. Each approach comes with its unique set of consider ations and safety precautions, so it’s essential to choose the method that best suits your project’s requirements and your comfort level with the tools at hand. Whether you’re crafting at home or tackling a repair job, the ability to cut metal without traditional tools opens up a world of possibilities. By following these guidelines and exercising caution, you can embark on metalworking adventures with confidence, turning raw materials into finished creations.
You can learn about home tools here.